Showing posts with label Daring Cooks. Show all posts

Tuesday, June 14, 2011

June 2011 Daring Cooks Challenge; Potato Salad

Jami Sorrento was our June Daring Cooks hostess and she chose to challenge us to celebrate the humble spud by making a delicious and healthy potato salad. The Daring Cooks Potato Salad Challenge was sponsored by the nice people at the United States Potato Board, who awarded prizes to the top 3 most creative and healthy potato salads. A medium-size (5.3 ounce) potato has 110 calories, no fat, no cholesterol, no sodium and includes nearly half your daily value of vitamin C and has more potassium than a banana! 

Potato Salad!! I LOVE POTATO SALAD.  Something I love about potato salad is that everyone thinks it should be made in a very specific way, and all those ways are quite different, even when they have pretty much the same ingredients.  I usually make potato salad as my mother taught me to make, with a few instances of baked potato salad instead.  (Two very different dishes, might I add).  So this month's challenge pushed me to try a new variation of one of my favorite foods.  

Now this potato salad isn't the prettiest as I used regular (dark) balsamic vinegar, but it tasted fabulous.  I also used green beans from my very own garden which, in my opinion, make this the best potato salad I've ever made.


Look at that robust, delicious green bean! 


Green Bean Potato Salad
(I made some slight modifications to the recipe given, and halved it)
  • 1 lb red potatoes
  • 5 oz green beans, parboiled and chopped
  • 1 roasted red pepper, diced
  • 1/6 cup olive oil
  • 1/4 cup white balsamic vinegar
  • 1/2 tsp salt
  • 1/8 cup shredded Parmesan

Scrub potatoes very well, or you may peel them.  Chop into bite size chunks and boil until tender, but not mushy.

In a large bowl, combine potatoes, green beans, and diced red pepper.  


In a measuring cup, whisk together oil, vinegar, salt, and Parmesan.  Pour over vegetables and toss to coat.  


Serve warm.

Saturday, May 14, 2011

May 2011 Daring Cooks Challenge: Gumbo

Our May hostess, Denise, of There’s a Newf in My Soup!, challenged The Daring Cooks to make Gumbo! She provided us with all the recipes we’d need, from creole spices, homemade stock, and Louisiana white rice, to Drew’s Chicken & Smoked Sausage Gumbo and Seafood Gumbo from My New Orleans: The Cookbook, by John Besh.


Okay, I must admit I was a bit amused when I learned this month's challenge was gumbo having grown up in the heart of Cajun country.  But I have been meaning to learn to make a seafood gumbo (instead of my beloved chicken and sausage), so this challenge gave me the opportunity to finally do so.  Unfortunately, my head is POUNDING right now (which I suspect is the result of my discovering the tastiness of the pina colada this afternoon.)

Now, I don't want to be a Negative Norton, and this was a good gumbo, but John Besh's recipe was super counter-intuitive to me.  Perhaps that's how they make gumbos in New Orleans, not in Cajun country.  BUT I have finally had seafood gumbo and used the shrimp heads/shells that have been hanging out in my freezer for months.  YAAY!   

*****
Edit:


Now that my headache has cleared, I'd like to explain a bit more.    In my quest to make my first gumbo, I spoke to many people about technique.  Everyone I spoke to said the same basic thing.  First you make your roux, then you whisk in your liquids and let that boil for at least an hour before adding anything else.  Only after that hour do you add your veggies and meats.  Then that boils for at least an hour longer, though usually much longer.  With Besh's recipe, the roux is made, then the veggies are slowly added, then the meats, then the liquid is added as the last step.  Having had horrible failure occur when my roux and liquid didn't come together, I was TERRIFIED that this would happen again and that unlike previous times, I wouldn't be able to just toss out the roux and start over again.  Everything was already in the pot!  So basically, with Besh's recipe, there was a lot of frantic whisking and praying.  


That being said, the gumbo came out just fine.  Everything mixed together and the flavors were right.  


And honestly, I'm really looking forward to a bowl of that gumbo for lunch.  Warm weather be damned!

Tuesday, December 14, 2010

December 2010 Daring Cooks Challenge: Poach (eggs) to Perfection!

Jenn and Jill have challenged The Daring Cooks to learn to perfect the technique of poaching an egg. They chose Eggs Benedict recipe from Alton Brown, Oeufs en Meurette from Cooking with Wine by Anne Willan, and Homemade Sundried Tomato & Pine Nut Seitan Sausages (poached) courtesy of Trudy of Veggie num num.

As a kid, I always thought soft-boiled eggs in the little cups were poached eggs; I didn't learn any better until hubby made me poached eggs not so long ago.  The challenge was to poach an egg; a few different recipes were provided.  I debated for a while, then decided to try my hand at Eggs Benedict.  I've been flirting with the idea of having a brunch get-together so it seemed sensible to add such a classic breakfast/brunch item to my repertoire. 


Hubby and I both fell madly in love with Eggs Benedict last night.  He had had  it once before at a restaurant and was unimpressed; it was my first time.  The salty butteriness of the sauce with an ever so slight kick of cayenne against the sweetness of the canadian bacon really bring this dish together.  

Eggs Benedict
(the Hollandaise sauce is courtesy of Alton Brown)
  • 4 eggs (size is your choice)
  • 2 English muffins*
  • 4 slices of Canadian bacon/back bacon (or plain bacon if you prefer)
  • Chives, for garnish
  • Splash of vinegar (for poaching)
For the hollandaise (makes 1.5 cups):
  • 3 large egg yolks
  • 1 tsp. (5 ml) water
  • ¼ tsp. (1 ¼ ml/1½ g) sugar
  • 12 Tbl. (170 g/6 oz.) unsalted butter, chilled and cut in small pieces º
  • ½ tsp. (2 ½ ml/3 g) kosher salt
  • 2 tsp. (10 ml) freshly squeezed lemon juice
  • Pinch cayenne pepper (optional)
* for gluten free, use gluten free English muffins or bread of your choice
º for dairy free, use a dairy free margarine

Directions:
1. Fill a medium saucepan halfway with water and bring to a simmer.

2. Cut the chilled butter into small pieces and set aside.

3. Whisk egg yolks and 1 tsp. (5 ml) water in a mixing bowl large enough to sit on the saucepan without touching the water (or in top portion of a double boiler). Whisk for 1–2 minutes, until egg yolks lighten. Add the sugar and whisk 30 seconds more.

4. Place bowl on saucepan over simmering water and whisk steadily 3–5 minutes (it only took about 3 for me) until the yolks thicken to coat the back of a spoon.

5. Remove from heat (but let the water continue to simmer) and whisk in the butter, 1 piece at a time. Move the bowl to the pan again as needed to melt the butter, making sure to whisk constantly.

6. Once all the butter is incorporated, remove from heat and whisk in the salt, lemon juice, and cayenne pepper (if using).

7. Keep the hollandaise warm while you poach your eggs in a thermos, carafe, or bowl that you’ve preheated with warm water.

8. If the water simmering in your pan has gotten too low, add enough so that you have 2–3 inches of water and bring back to a simmer.

9. Add salt and a splash of vinegar (any kind will do). I added about a tablespoon of vinegar to my small saucepan (about 3 cups of water/720 ml of water), but you may need more if you’re using a larger pan with more water.

10. Crack eggs directly into the very gently simmering water (or crack first into a bowl and gently drop into the water), making sure they’re separated. Cook for 3 minutes for a viscous but still runny yolk.

11. While waiting for the eggs, quickly fry the Canadian/back bacon and toast your English muffin.

12. Top each half of English muffin with a piece of bacon. Remove the eggs with a slotted spoon, draining well, and place on top of the bacon. Top with hollandaise and chopped chives, and enjoy!

Thursday, October 14, 2010

October 2010 Daring Cooks' Challenge: Stuffed Grape Leaves

Our October 2010 hostess, Lori of Lori’s Lipsmacking Goodness, has challenged The Daring Cooks to stuff grape leaves. Lori chose a recipe from Aromas of Aleppo and a recipe from The New Book of Middle Eastern Food.

I greeted this month's challenge with mixed emotions.  I adore stuffed grape leaves (which I have always known as dolmades) , but hubby hates them.  So while I was excited that I'd get to try making something so neat and tasty, I knew it would be a waste of energy to even consider hubby enjoying the challenge.   But in the end, that just means more tastiness for me! 


I'm not going to post the recipe right now.  If you'd ever like to try a Daring Kitchen recipe, they archive every challenge on their site, here.  There were two recipes supplied for the stuffed grape leaves; I went with the warm (as opposed to cold) one.  The recipe included an apricot tamarind sauce, but I wanted to make a tzatziki because it is my favorite and I like the coolness of the cucumber.  I'll post the tzatziki recipe later.  (I have to make up for those two missed blogging days!)  
I never would have imagined stuffing grape leaves would be so fun; it was quite the rewarding experience to see the little tasty bundles fill up the pan.  I froze half of them, since I knew hubby wouldn't be eating any.  I'll have to pull them out when we have company. 

Tuesday, September 14, 2010

September 2010 Daring Cooks Challenge: Food Preservation, the Apple Butter of Knowledge

The September 2010 Daring Cooks’ challenge was hosted by John of Eat4Fun. John chose to challenge The Daring Cooks to learn about food preservation, mainly in the form of canning and freezing. He challenged everyone to make a recipe and preserve it. John’s source for food preservation information was from The National Center for Home Food Preservation.


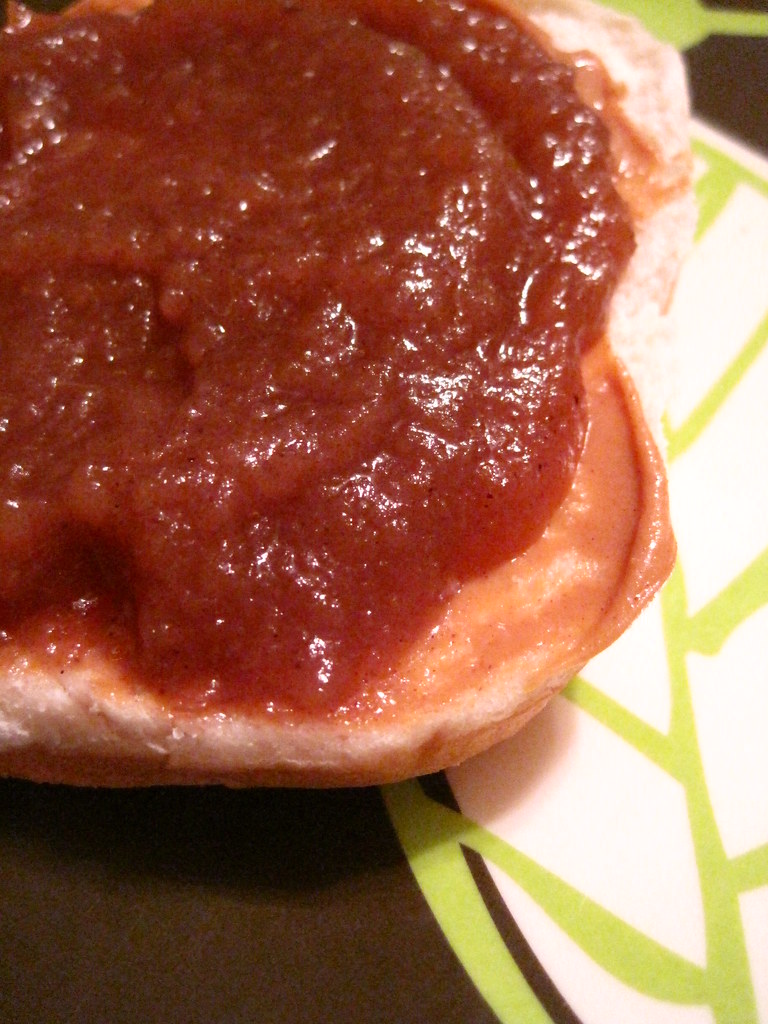
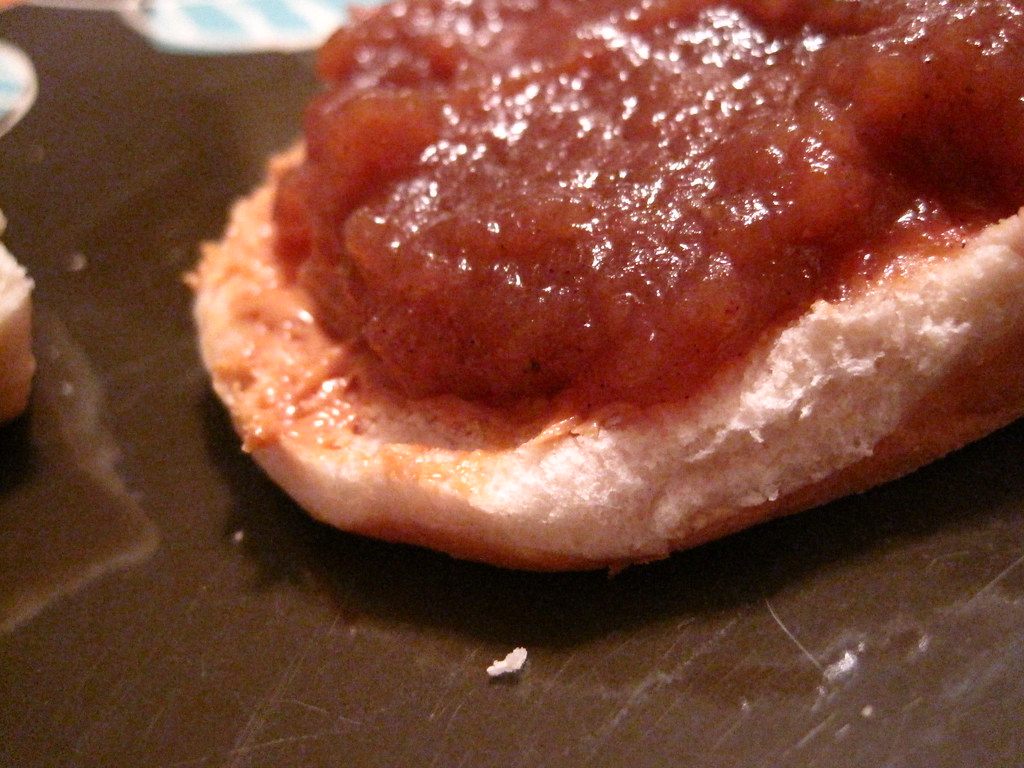
 I was beyond thrilled when I saw this month's challenge.  I! LOVE! APPLE BUTTER!! I've been meaning to buy some for ages and this was sooo perfect.  I love apple butter, especially with peanut butter (SO GOOD!!!).  The challenge was doubly awesome because I want to become more proficient at canning.  I plan on starting a garden next summer and I'm sure I'll eventually need to can things.  Making this apple butter was such a rewarding way to spend an afternoon.  It was relaxing and gratifying, and the results were DELICIOUS.  I am strongly considering making apple butter for Christmas gifts.  


I used a combination of Gala, Fuji, and Granny Smith in an attempt to get a full, complex apple experience.  The combination worked well.  

Apple Butter
(adapted from this recipe) 
  • 6 lbs apples
  • 1 cup apple cider
  • 3/4 cup sugar, or to taste
  • 1 tbsp ground cinnamon
  • 1/2 tsp allspice
  • 1/4 tsp cloves

Peel and core the apples, then cut into eighths.  In a large saucepan, combine the apples and apple cider.  Cook over medium heat, stirring occasionally, until the apples are soft and falling apart.  Using a potato masher or similar implement, mash the apples.

Mix in the sugar, cinnamon, allspice, and cloves into the apple mash.  Use a stick blender (or be messy and use a handheld blender like me) to create a smoother apple butter.  Bring to a simmer and partially cover; you want the moisture to evaporate out of the butter. 

When the butter is done, it should mound on a plate without the liquid separating around the edges, creating a watery ring.  At this point, the apple butter is ready to be frozen or canned.

I'm not quite ready to blog about canning.  Hopefully, I will do so in the near future.